
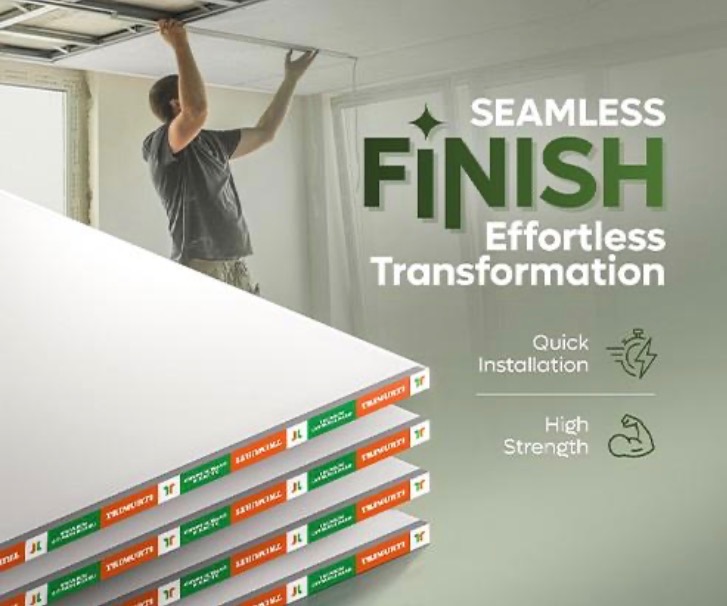
A ceiling system may look simple after completion, but its performance depends on several components working together above the visible surface. Framing members, boards, fasteners, joint treatments, and finishing materials each influence alignment, stability, surface quality, and the life of the installation.
For homeowners and contractors, choosing materials from a dependable false ceiling manufacturer can simplify compatibility across the entire assembly. Instead of judging a ceiling only by its final appearance, users should understand how the supporting frame, board quality, fastening points, and finishing layers contribute to everyday performance.
Understanding What Holds a Ceiling System Together
A suspended ceiling begins with a framework that creates the required level below the structural slab. Galvanized iron channels are commonly used to form this supporting arrangement because they combine relatively low weight with structural rigidity and corrosion resistance. Correct spacing is important because uneven framing can affect board alignment.
Above all, the components should function as a coordinated system rather than as unrelated construction materials. Channels establish the framework, fasteners secure critical connections, boards create the finished plane, while tapes and jointing materials prepare intersections for finishing. Accurate installation at every stage reduces avoidable surface defects.
● GI channels establish the supporting framework and alignment.
● Gypsum boards create a uniform surface across the ceiling.
● Fasteners maintain secure connections at designated fixing points.
● Jointing materials help finish board intersections smoothly.
● Drywall tape reinforces joints before the final surface treatment.
How Framework Quality Influences Long-Term Stability
Metal framing carries the board assembly and transfers its load through the suspension arrangement. Galvanized iron is particularly useful in ceiling applications because its protective zinc coating improves resistance to corrosion. Consistent channel dimensions also make it easier for installers to maintain an even level throughout a room.
Material thickness deserves attention as well. The client’s GI channels are specified at 0.62 to 0.66 mm and are made from galvanized iron, with corrosion resistance and a zig-zag surface listed among their characteristics. Such specifications give installers measurable information instead of requiring material selection based purely on appearance.
Channel Alignment
Straight channel placement provides the base geometry for the entire assembly. If individual members sit at inconsistent levels, boards can follow those variations and create visible waviness after finishing. Installers therefore need to check the framework before covering it with panels.
Corrosion Resistance
Ceiling cavities are difficult to access once the installation has been completed. Using galvanized framing provides additional protection for concealed metal components, particularly where environmental moisture may otherwise affect untreated steel over time.
Secure Fixing
Connections between the structure, suspension components, and framing members need suitable fixing hardware. Loose or incorrectly positioned connections can compromise alignment. Appropriate fasteners should therefore match the intended substrate, load requirement, and installation method.
Board Support
Boards require properly positioned support across their edges and intermediate areas. A correctly arranged framework gives installers predictable fixing locations, helping the panels remain level while reducing unnecessary movement at joints during subsequent finishing work.
Joint Preparation
Board edges need careful preparation before finishing materials are applied. Drywall tape and compatible jointing compounds help create a continuous surface across panel intersections, making joint treatment an important part of the overall ceiling installation rather than a cosmetic afterthought.
Surface Readiness
Once joints and fixing points have been treated, the surface should be checked for irregularities before decoration begins. Proper preparation gives subsequent coatings a more uniform base and prevents installers from relying on paint to disguise underlying workmanship problems.
Why Gypsum-Based Systems Remain Practical Indoors
Gypsum materials are widely suited to interior ceiling work because they allow installers to form smooth planes, mouldings, cornices, and other architectural details. The client’s Silk Gypsum Plaster, for example, is specified for walls, ceilings, mouldings, repairs, and cornice work, with a stated setting time of 15 to 20 minutes.
Within a false ceiling, the visible finish depends on more than the board itself. Framing accuracy, screw positioning, joint reinforcement, compound application, and surface preparation all affect the completed plane. A good board installed on poorly aligned framing can still produce an unsatisfactory result.
● Check the supporting frame before board installation begins.
● Keep board joints positioned over suitable supporting members.
● Use compatible screws and fastening components for the assembly.
● Reinforce panel joints before applying finishing material.
● Inspect the completed surface before primer or decorative coating.
Common Installation Details Users Should Pay Attention To
Visible cracks or uneven areas are often associated with what happened before the decorative finish was applied. Joint locations, framing consistency, fixing patterns, board positioning, and surface preparation all deserve inspection. For homeowners, asking about these details can be more useful than selecting a ceiling solely from a design photograph.
Service access should also be considered during planning. Electrical wiring, lighting points, ventilation components, and other utilities may occupy the cavity above the finished surface. Their positions should be coordinated before boards are closed so installers do not need unnecessary cutting or modification afterward.
Choosing Components as a Complete Ceiling Assembly
Material compatibility becomes especially important when several products meet at one joint or fixing location. The ceiling range listed by the client includes ceiling tiles, T-grid components, gypsum board, GI channels, GI wire mesh, drywall screws, fasteners, drywall tape, gypsum jointing products, keels, and washers.
Rather than purchasing components without considering their roles, users can evaluate the complete build-up. Structural support comes first, followed by panel installation, joint reinforcement, finishing, and decoration. This sequence makes it easier to identify where each material belongs and why seemingly small accessories influence the completed surface.
● Confirm the intended ceiling type before purchasing materials.
● Match framing components with the selected board arrangement.
● Select fixing hardware according to the installation requirement.
● Plan joints, edges, openings, and service locations beforehand.
● Complete surface preparation before decorative coatings are applied.
Final Thoughts
What makes a ceiling continue looking properly finished after installation? The answer begins behind the visible surface, where framing accuracy, secure connections, suitable boards, reinforced joints, and careful finishing work together to create a dependable assembly.
For users seeking coordinated ceiling materials, Trimurti products cover multiple parts of the installation process rather than focusing only on the visible finish. With Trimurti positioned in the middle of this material chain through gypsum boards, GI channels, wire mesh, screws, fasteners, drywall tape, jointing materials, keels, washers, and other ceiling solutions, homeowners and contractors can evaluate components according to their specific project requirements.